How to Create an Ontology Wallet

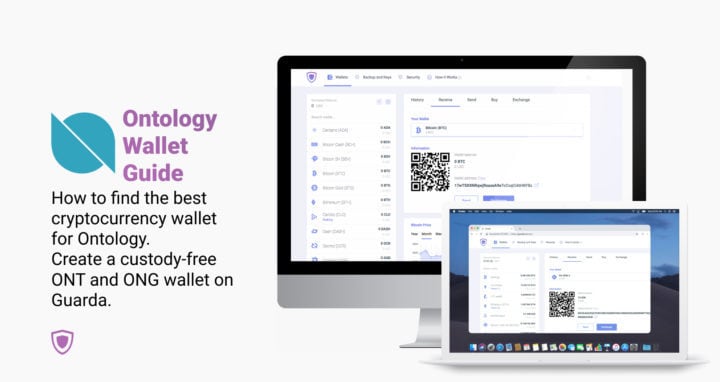
Create an Ontology wallet in 4 simple steps on Guarda – the leading non-custodial wallet provider. In this guide, we will show you how to do it. Also, you can stake ONT on Guarda.
Introduction to Ontology

Guarda Wallet team is happy to have Ontology ONT and ONG on board of our multi-currency non-custodial wallets. Ontology wallet is available in Web, Desktop and Chrome Extension versions. Besides the support for ONT and ONG, these storages also work with BTC, ETH, ETC, XRP, XMR, NEO, BCH and a variety of other cryptocurrency coins and tokens (over 40 major blockchains and more than 10.000 tokens overall).
Ontology is a relatively new public blockchain. Being a strong player in the Chinese market, Ontology is using the dual token model. ONT is a native cryptocurrency and ONG is a claimable token that is generated as a result of ONT holding.
Before migrating to its own blockchain, Ontology ONT was a NEO blockchain token. The mainnet launched in June 2018.
Ontology Coin Price on CoinMarketCap.
How to store Ontology ONT and ONG?
Just like any other cryptocurrency with its own blockchain, Ontology ONT and ONG need secure storage that is designed for it. Security of your Ontology wallet should be the main focus. There are several criteria for keeping ONT and ONG safe that we will list here:
Find a secure ONT and ONG wallet
When choosing Ontology storage, pay attention to how secure a wallet you are going for is. Generally, we advise turning to non-custodial Ontology crypto wallets. Using custody-free cryptocurrency storages allows users to gain full control over their private keys and wallet backups. Besides, anyone going with a non-custodial wallet does not have to share their personal data with any third-parties.
Make sure the wallet is updated frequently
Security lies in development. If your Ontology wallet development team is not very active, this is sure a bad sign. To see the full activity of the wallet of your choice, you can browse community chats, social network pages, websites and blogs.
Check the reviews for your Ontology wallet
Reviews are quite handy in helping users choose an appropriate crypto storage platform. Wallet reviews are usually available on Google Play and AppStore in case of mobile applications, as well as on websites like Trustpilot and CryptoCompare.
Find your wallet community
It’s always better to be in the company, right? Besides, joining the community of your cryptocurrency wallet is quite handy – there might be lots of useful information floating around. Having a group of like-minded people who are ready to unite, answer questions and share their experiences is a great thing, especially for a cryptocurrency novice.
Set up your ONT and ONG wallet.
After you have gone through all the abovementioned points and found the right suitor, it is the time to create your wallet! Guarda Wallet team will describe the process of creating secure Ontology storage that meets all the requirements in the next paragraph.
How to create an Ontology wallet?
Crypto wallet for Ontology native coin and token can be easily set up on Guarda. In this step-by-step tutorial, we will show you how to do it. For this example, we have chosen our Web wallet – a great pick for those who are getting acquainted with the crypto space.
Create an Ontology wallet by following these 4 steps.
- Go to Guarda wallet website and click Create Wallet.
- Think of a strong password for your wallet.
- Download your backup.
- Your Ontology wallet has just been created!
Step 1. You will find the creation button in the top right corner on Guarda’s Website on the main page. Once you are redirected to the welcome screen, proceed by clicking Create a New Wallet again. If you would like to check some extra information on the wallet you are about to create, you can also check the Web Wallet page.
Step 2. Making up a secure password to protect your wallet with is essential – our general advice here would be not using a password you are already using for some other services and choosing a combination of upper/lowercase letters, numbers and symbols. You can check more information on cryptocurrency wallet passwords in this guide.
Step 3. Backup is essential for your new Ontology wallet. You can only log into your wallet with a combination of Guarda wallet backup and the wallet password. Please note that Guarda wallets are non-custodial – this means that we do not have access to your wallet backup. Due to this, we will not be able to restore it in case of a loss.
Step 4. Your wallet is all set up! Now you can store, send, receive, exchange and purchase Ontology in non-custodial security of Guarda wallet. Enjoy!